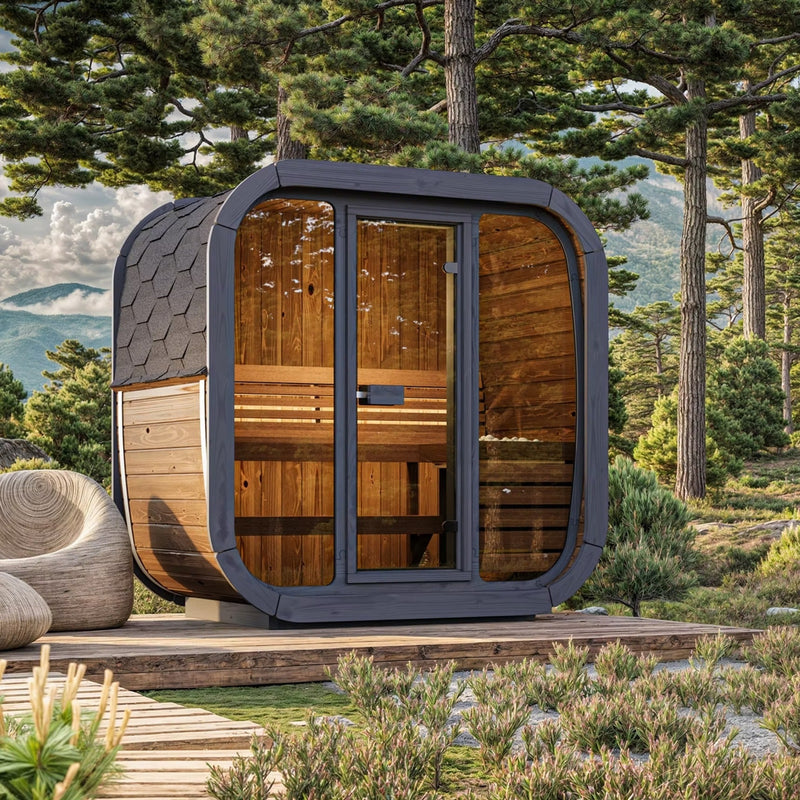
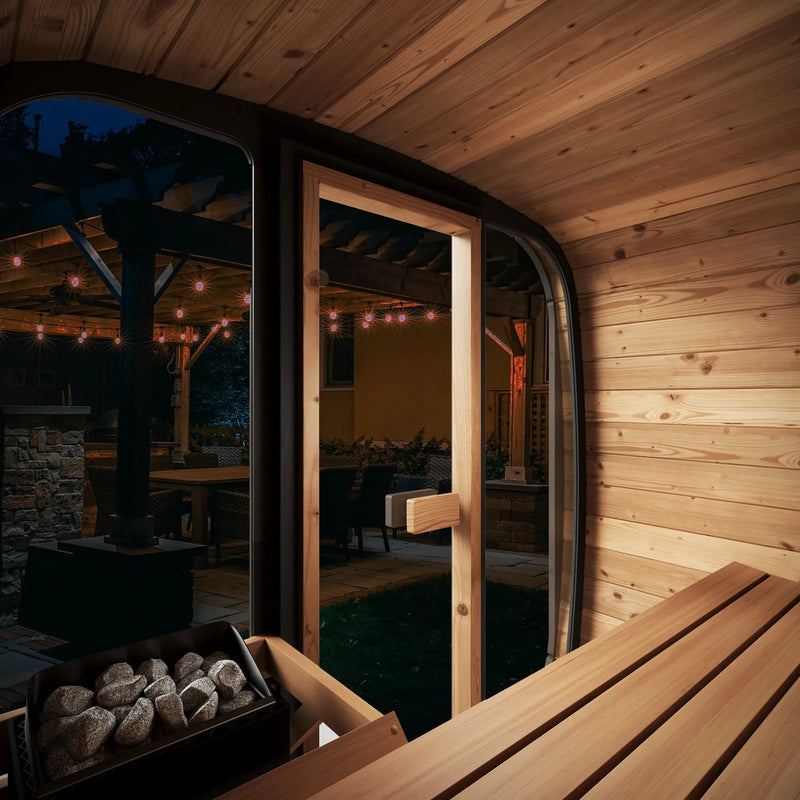
What installing the SaunaLife GL4 involves
Site and foundation
The GL4 must be set on a pre-made, level foundation — SaunaLife's manual makes a level base a condition of the doors and windows operating correctly. The base has to be suitable for a light-construction outbuilding, with sufficient bearing capacity, and the manual advises removing the soil under the sauna and replacing it with well-drained, load-bearing material, then keeping planting back from the walls to limit moisture. The load lands on a base frame measuring 78" by 57.2"; allow the full 58.9" by 79.5" exterior footprint plus working room on all four sides during the build, and clearance in front of the glass door to swing.
Assembly
SaunaLife states that two people with moderate DIY experience can assemble the GL4 in two days. The kit is cut to length and supplies the fasteners, the silicone gun, the bitumen sealant and two hitting blocks, but it is not a tool-free build: the manual's own steps call for a drill/driver with a 6 mm bit for pilot holes, a rubber mallet, and a hole saw or jigsaw to cut the 3.95" ventilation hole in the back wall. Check the manual's step list before you start so you have everything on the day.
Electrical work
All electrical and plumbing work on the GL4, including installing the electric heater, must be carried out by a qualified specialist — that is SaunaLife's own instruction, not a recommendation. The circuit size depends on the heater you choose, so confirm the requirement against the heater manufacturer's manual before booking an electrician. Do not use the sauna during its first heating: SaunaLife specifies a supervised first heat of two hours at around 212 °F, well ventilated during and after.
Caring for the GL4
SaunaLife requires the wooden parts of the GL4 to be treated with a suitable wood preservative immediately after assembly, and states that the manufacturer is not responsible for products damaged by untreated wood or incorrect installation. Re-treat at least once a year, more often with heavy use, and do not use paint or varnish — the wood has to breathe. Inside, wipe the benches with a clean damp cloth after each session, ventilate until the surfaces are dry, and use seating pads or a towel on the bench, which SaunaLife recommends both for comfort and to keep the bench fresh. Avoid pressure washing or running water anywhere on the timber. SaunaLife's manual is explicit that temperature and humidity swings can make the wood's surface crack or warp and that this is normal, so plan for maintenance rather than expecting none.