Save $1,109


SaunaLife G4 | Traditional Outdoor Sauna · 6-Person
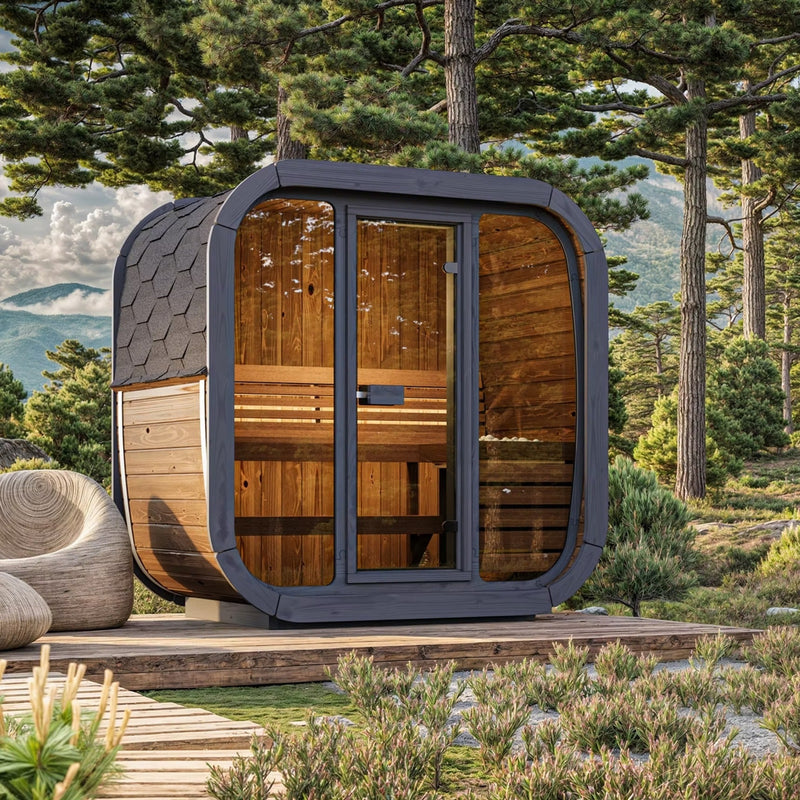
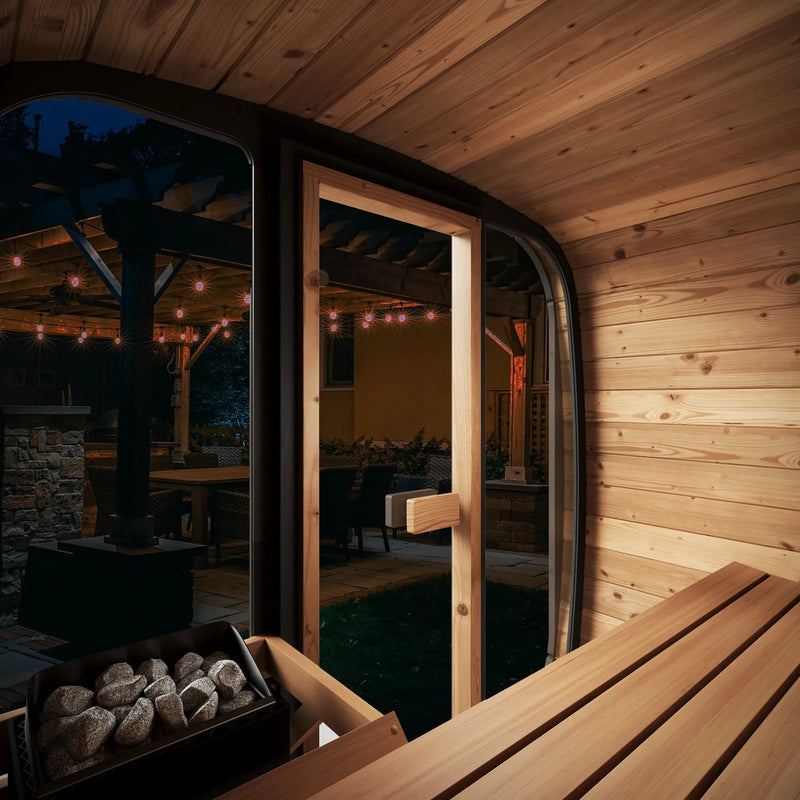
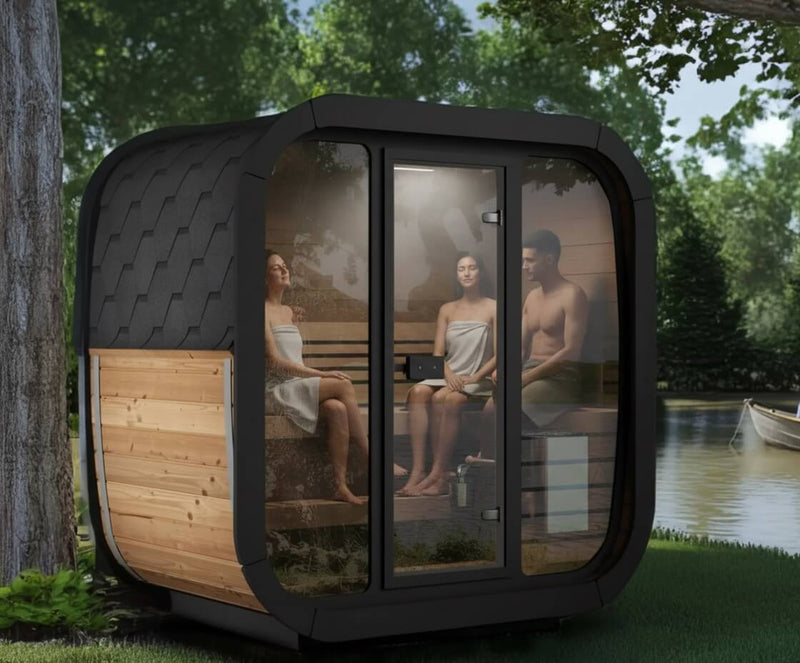
Discontinued. A 6-person outdoor cabin sauna with a full-glass front, two-tier aspen benches and interlocking 1.77" spruce wall beams.
Sold out
Current price
$6,990
$6,990
-
$6,990
Current price
$6,990
Original price
$8,099
Save $1,109
Original price
$8,099
-
Original price
$8,099
Original price
$8,099
Currently unavailable
No restock date yet.
- Discontinued model — kept here for specifications and the owner's manual.
- Two-tier knotless aspen benches with 1.1" tops, backrests and skirting.
- Interlocking 1.77" Nordic Spruce beams, with a reversible door and a side window that fits either flank.
Included with your sauna purchase

The Sauna Mastery Protocol Digital Guide

Full-Value Freight Protection
The SaunaLife G4 has been discontinued. SaunaLife no longer lists the G4 in its Garden-Series line-up and Topture is not taking new orders for it. This page stays up as the reference record for the model — specifications, what was in the kit, and the installation manual for people who already own one. If you are shopping for a 6-person outdoor sauna now, the SaunaLife GL6 6-person outdoor sauna kit is the closest current cabin kit, and the SaunaLife CL7G 6-person outdoor cube sauna is the current glass-front cube at that capacity.