What installing the SaunaLife G6 involves
Site and foundation
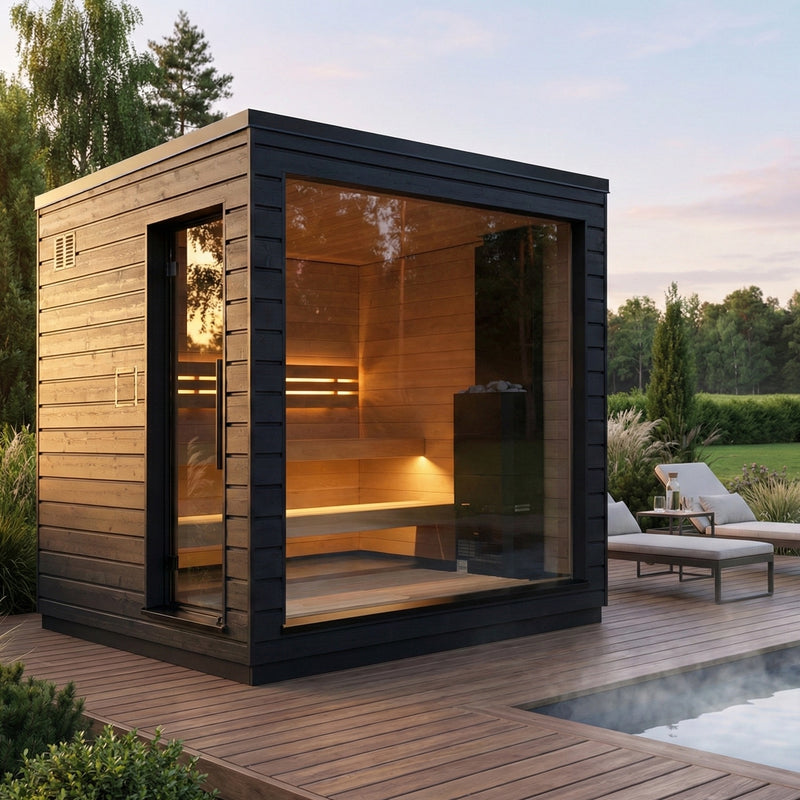
The G6's base must be level and stable, and the cabin has to sit at least 3" higher than the surrounding ground so water cannot pool under it. Every base beam needs support beneath it. SaunaLife recommends concrete blocks or strips over compacted gravel, with geotextile laid underneath to stop grass and weeds growing beneath the cabin; an existing terrace or paved surface also works, provided it is level and raised above the ground around it. Allow the full 95" by 83" footprint, plus the room a forklift or crane needs to set the cabin down.
What still has to be done after delivery
The G6 arrives built, but it is not finished. SaunaLife's manual leaves six jobs to the customer's installer: fitting the parapet metal trim along the roof, fitting the decorative base boards, assembling and hanging the rainwater gutter and downpipe, running the main power cable, installing the heater and its control unit, and fitting the outdoor light fixtures. The manual's own tool list for that work includes a ladder, level, tape measure, drill/driver, TORX bit set, an 8 mm hex socket, a screwdriver set, a hex key set, pliers, sheet metal scissors, a metal cutting saw, a 1/8-inch drill bit for metal, a rivet gun, a sealant gun with weather-resistant silicone, a paint brush and a circular saw. Budget for a contractor day if you are not doing that work yourself.
Electrical work
All electrical connections on the G6 must be made by a certified electrician — that is SaunaLife's own instruction. The cabin is pre-wired at the factory for its lights, speakers and fan, and terminates in two electrical boxes behind a lockable wooden door on the side of the cabin. The upper box is 120 VAC for lighting and ventilation, rated to a maximum of 1 kW / 9 A on three 16 AWG 600 V conductors. The lower box is 240 VAC for the heater and its control unit, and SaunaLife rates that circuit to a maximum of 11 kW — the electrical installation guide states 50 A maximum, the installation manual a 46 A maximum load, on four 10 AWG 600 V conductors. SaunaLife confirms this wiring can be adjusted for its recommended heater, the Saunum Air L 13. Check the heater you are considering against that rating with your electrician before you order, because a heater drawing more than the cabin's own circuit is rated for is not an installation SaunaLife's documents cover. Three conduits run beneath the cabin for the incoming cables, and the control unit can be mounted either inside the sauna or in the outdoor cabinet.
Moving the cabin later
The G6 can be relocated on the property two ways: lifted from above using the lifting hooks in each corner of the roof, or lifted from below with a forklift, keeping clear of the drainage pipe underneath. Both need professional equipment and an operator used to handling a structure of this size and weight.
Caring for the G6
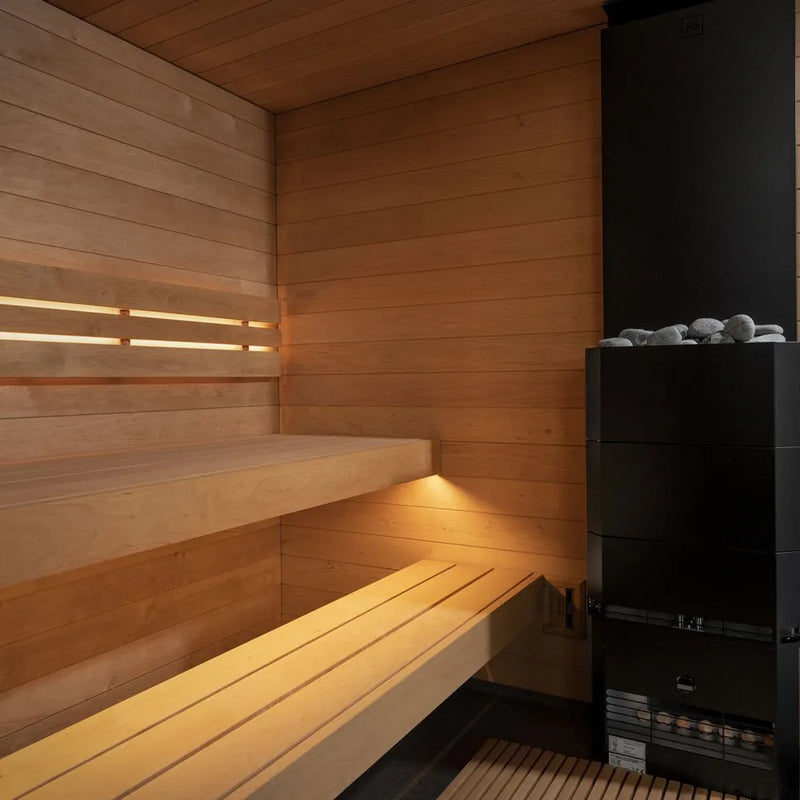
SaunaLife's maintenance instructions for the G6 are specific and worth following from the first week. After each session, run the ventilation to dry the interior out and wipe the benches and cladding with a damp cloth, avoiding harsh chemicals and abrasives. Treat the interior wood with a preservative formulated for saunas to guard against rot and keep its resistance to heat and moisture. Lift the alder floor grate regularly, sweep or vacuum underneath, and check corners and crevices for mould. Outside, clean the cladding once a year with a wood cleaner made for exterior use, and look for chipping or peeling and reapply a protective finish where you find it. Never pour water over a heater that is off, do not leave towels or other combustibles inside after use, and keep the door closed while the sauna is heating.